Steps in sewing up the Bishop summer bubbles that I have been stitching are the focus of this entry. I’ve so enjoyed sewing for my grand daughter, but this bubble was made for a little girl in SW Oklahoma. The mom chose a Monaluna Organic cotton print. I was thrilled since I had been wanting to stitch something out of that new line of fabrics. 
I have been using the Bishop Trio pattern by Creative Keepsakes. I find that the bubble fits nicely and is easy to construct.
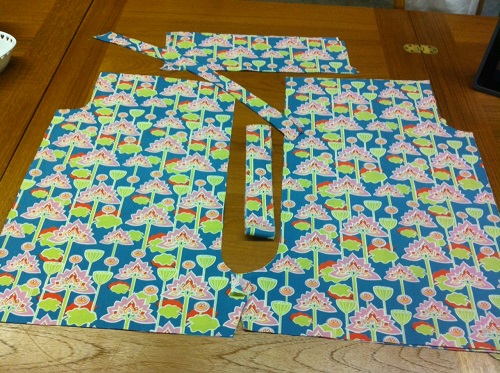
In cutting out these pieces, I had to make sure that all the pattern pieces were going the same direction because of the one-way design. That is something to consider whenever you are choosing a fabric with a print or when using corduroy. Sometimes you have to allow a bit extra, but this pattern was not the case.

Preparation for pleating. For the bishop style the front, sleeves and back pattern pieces have to be stitched together first. The seam allowance in this pattern is 3/8″. I stitch all the seams, the trim to a scant 1/8″ and run through my serger. You could do a simple zig-zag too. Press all seams.
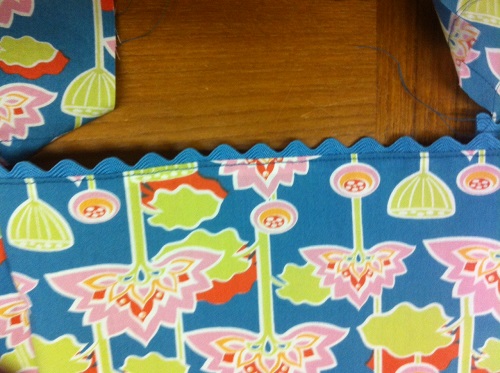
Then you will want to also finish the edge of the Angel Sleeve. I used a coordinating rick-rack. Sleeve edge was serged, then press under 1/4″. The rick-rack was then applied with a straight stitch. Now you are ready to roll the bishop on a dowel rod and pleat. Rule of bishop pleating: pleat on the straight of grain, a design is too wide if the pleating takes you into the curve of the armhole.
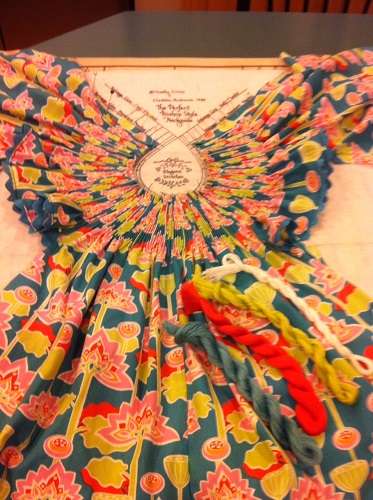
Once pleated, the bishop bubble needs to be blocked to the size you are making. I have an older blocking guide, but Ellen McCarn has a wonderful blocking guide that works for bishops and straight yokes as well. Shown here are the colors that I plan to incorporate in the design. A simple variation of an Ellen McCarn smocking design called “Cary Anne” is being used.
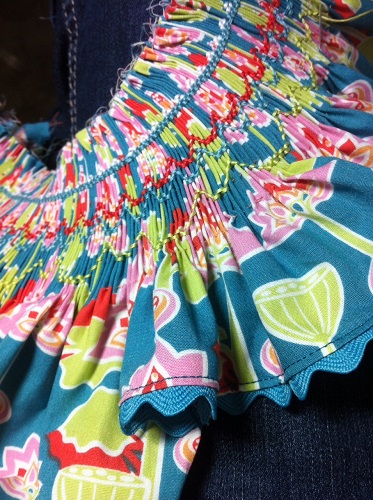
Close up of the smocking process. I’m liking the results!
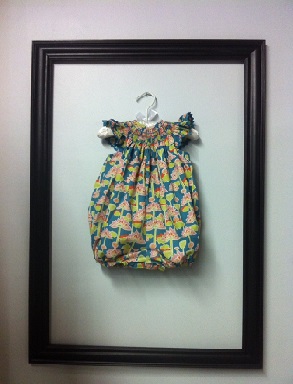
All finished and at this writing, it’s been shipped!