Once your smocking is completed you will need to cut out the purse pieces from the fabric for the main body of the purse. Last time we were just pleating the Swiss Edging and blocking it to size. There are 4 purse body pieces, a front and back and a lining front and back. If your fabric is heavier than batiste, you might not need a lining, but it just makes a nice finish on the inside, so you might consider having the lining be a lighter weight cotton that coordinates with your outer fabric.
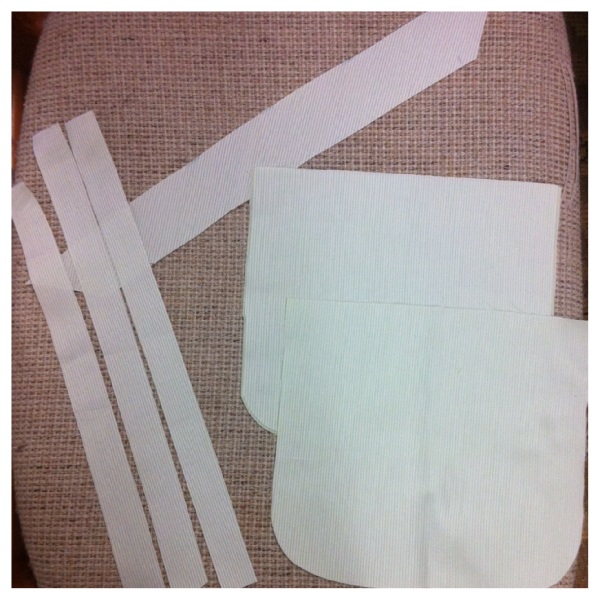
As you see above, the purse front & back (there are 4 pieces total), a strip of 1 3/4″ bias approximately 10″ long and 3 1″ pieces about 9′-10″ for the handles.
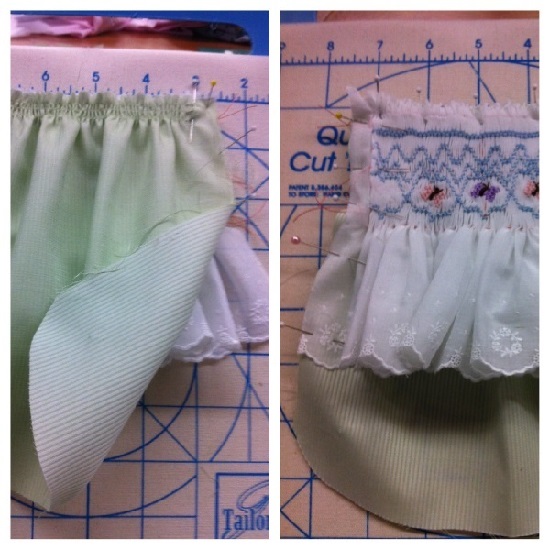
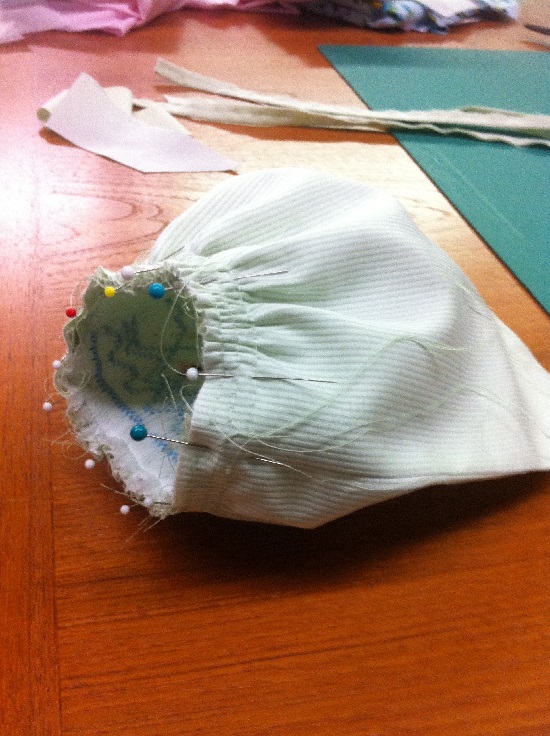
*Stitch three (3) rows of gathering stitching across the straight (top) edge of the front & back outer purse pieces.
*Then pin the smocked piece to the front purse piece and adjust the gathers to fit the blocked width of the smocked piece.
*Once the gathers are tied off, the pin along the top and sides of the front purse piece. You can stitch close to the edges to hold in place, if you prefer.
* Adjust the gathers on the back purse piece to match the front.
*Pin right side together the back and front purse pieces together. Stitch up with a 1/4″ seam around the curved edges. Do the same for the lining pieces. Press all stitching.
*On the lining, sew three (3) rows of gathering around the top straight edge as you did with the outer purse. Pull up the gathers in an effort to match the circumference of the outer purse pieces. This can be adjusted once you place the lining inside the outer purse section to line the purse.
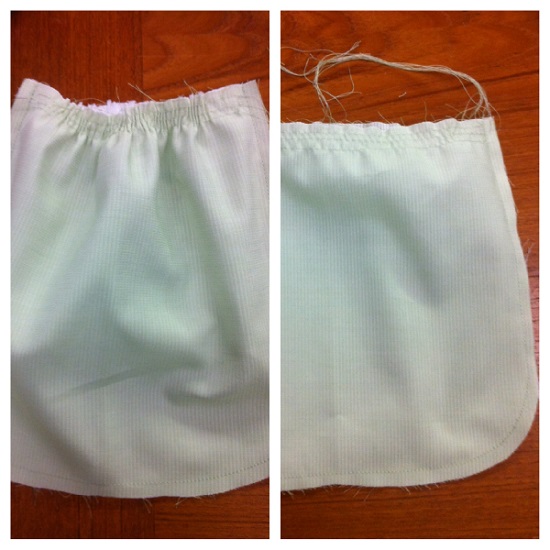
*In the photo above, left is the back of the outer purse with the gathering threads being drawn up to match the front. On the right is the lining pieces stitched–right sides together and three (3) gathering rows stitched along the top straight edge on front and back
*Turn lining right side out and press a nice curve. Then slide the wrong side of the lining onto the wrong side of the outer purse and match up the side seams.
*It is now time to draw up the gathering rows on the lining so they adjust to the size of the outer purse circumference. Pin in place and stitch a scant 1/4″ seam allowance just to hold in place.
*Add the bias strip around the top of the purse. I like to press the strip in half lengthwise and apply it like “French Bias” so that the edge that is turned to the inside is the folded edge of the bias. Stitch with a 1/4″ first, then stitch again moving your needle position all the way to the right so that you stitch about 1/8″ from the raw edge. Trim close to the second stitching. This makes for a nicer edge when the bias is turned to the wrong side.

*Turn the bias edge to the wrong side and blind stitch. Then braid your 3 handle pieces together. Stitch across each end to hold the 3 pieces in place.

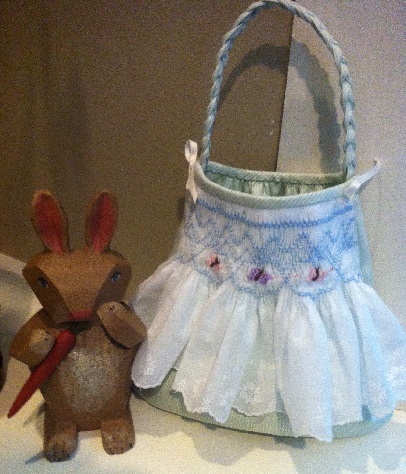
*Not much left now. Stitch the ends of the handles on the inside of the purse at the side seams. Add 4 1/2 – 6″ of 1/8 or narrower ribbon to each side. Find the middle of the ribbon and tack one piece of the ribbon to each side seam. Tie the ribbon in a bow. You are finished! Smocked Purse with Swiss Edging (Click Here if you would like a hard copy of this project)